Deploying a smart contract
You can deploy your contracts to a network in the platform or a local development network. This guide covers both Platform UI and SDK CLI approaches.
- Platform UI
- SDK CLI
Follow these steps to deploy your smart contract through the Platform UI:
-
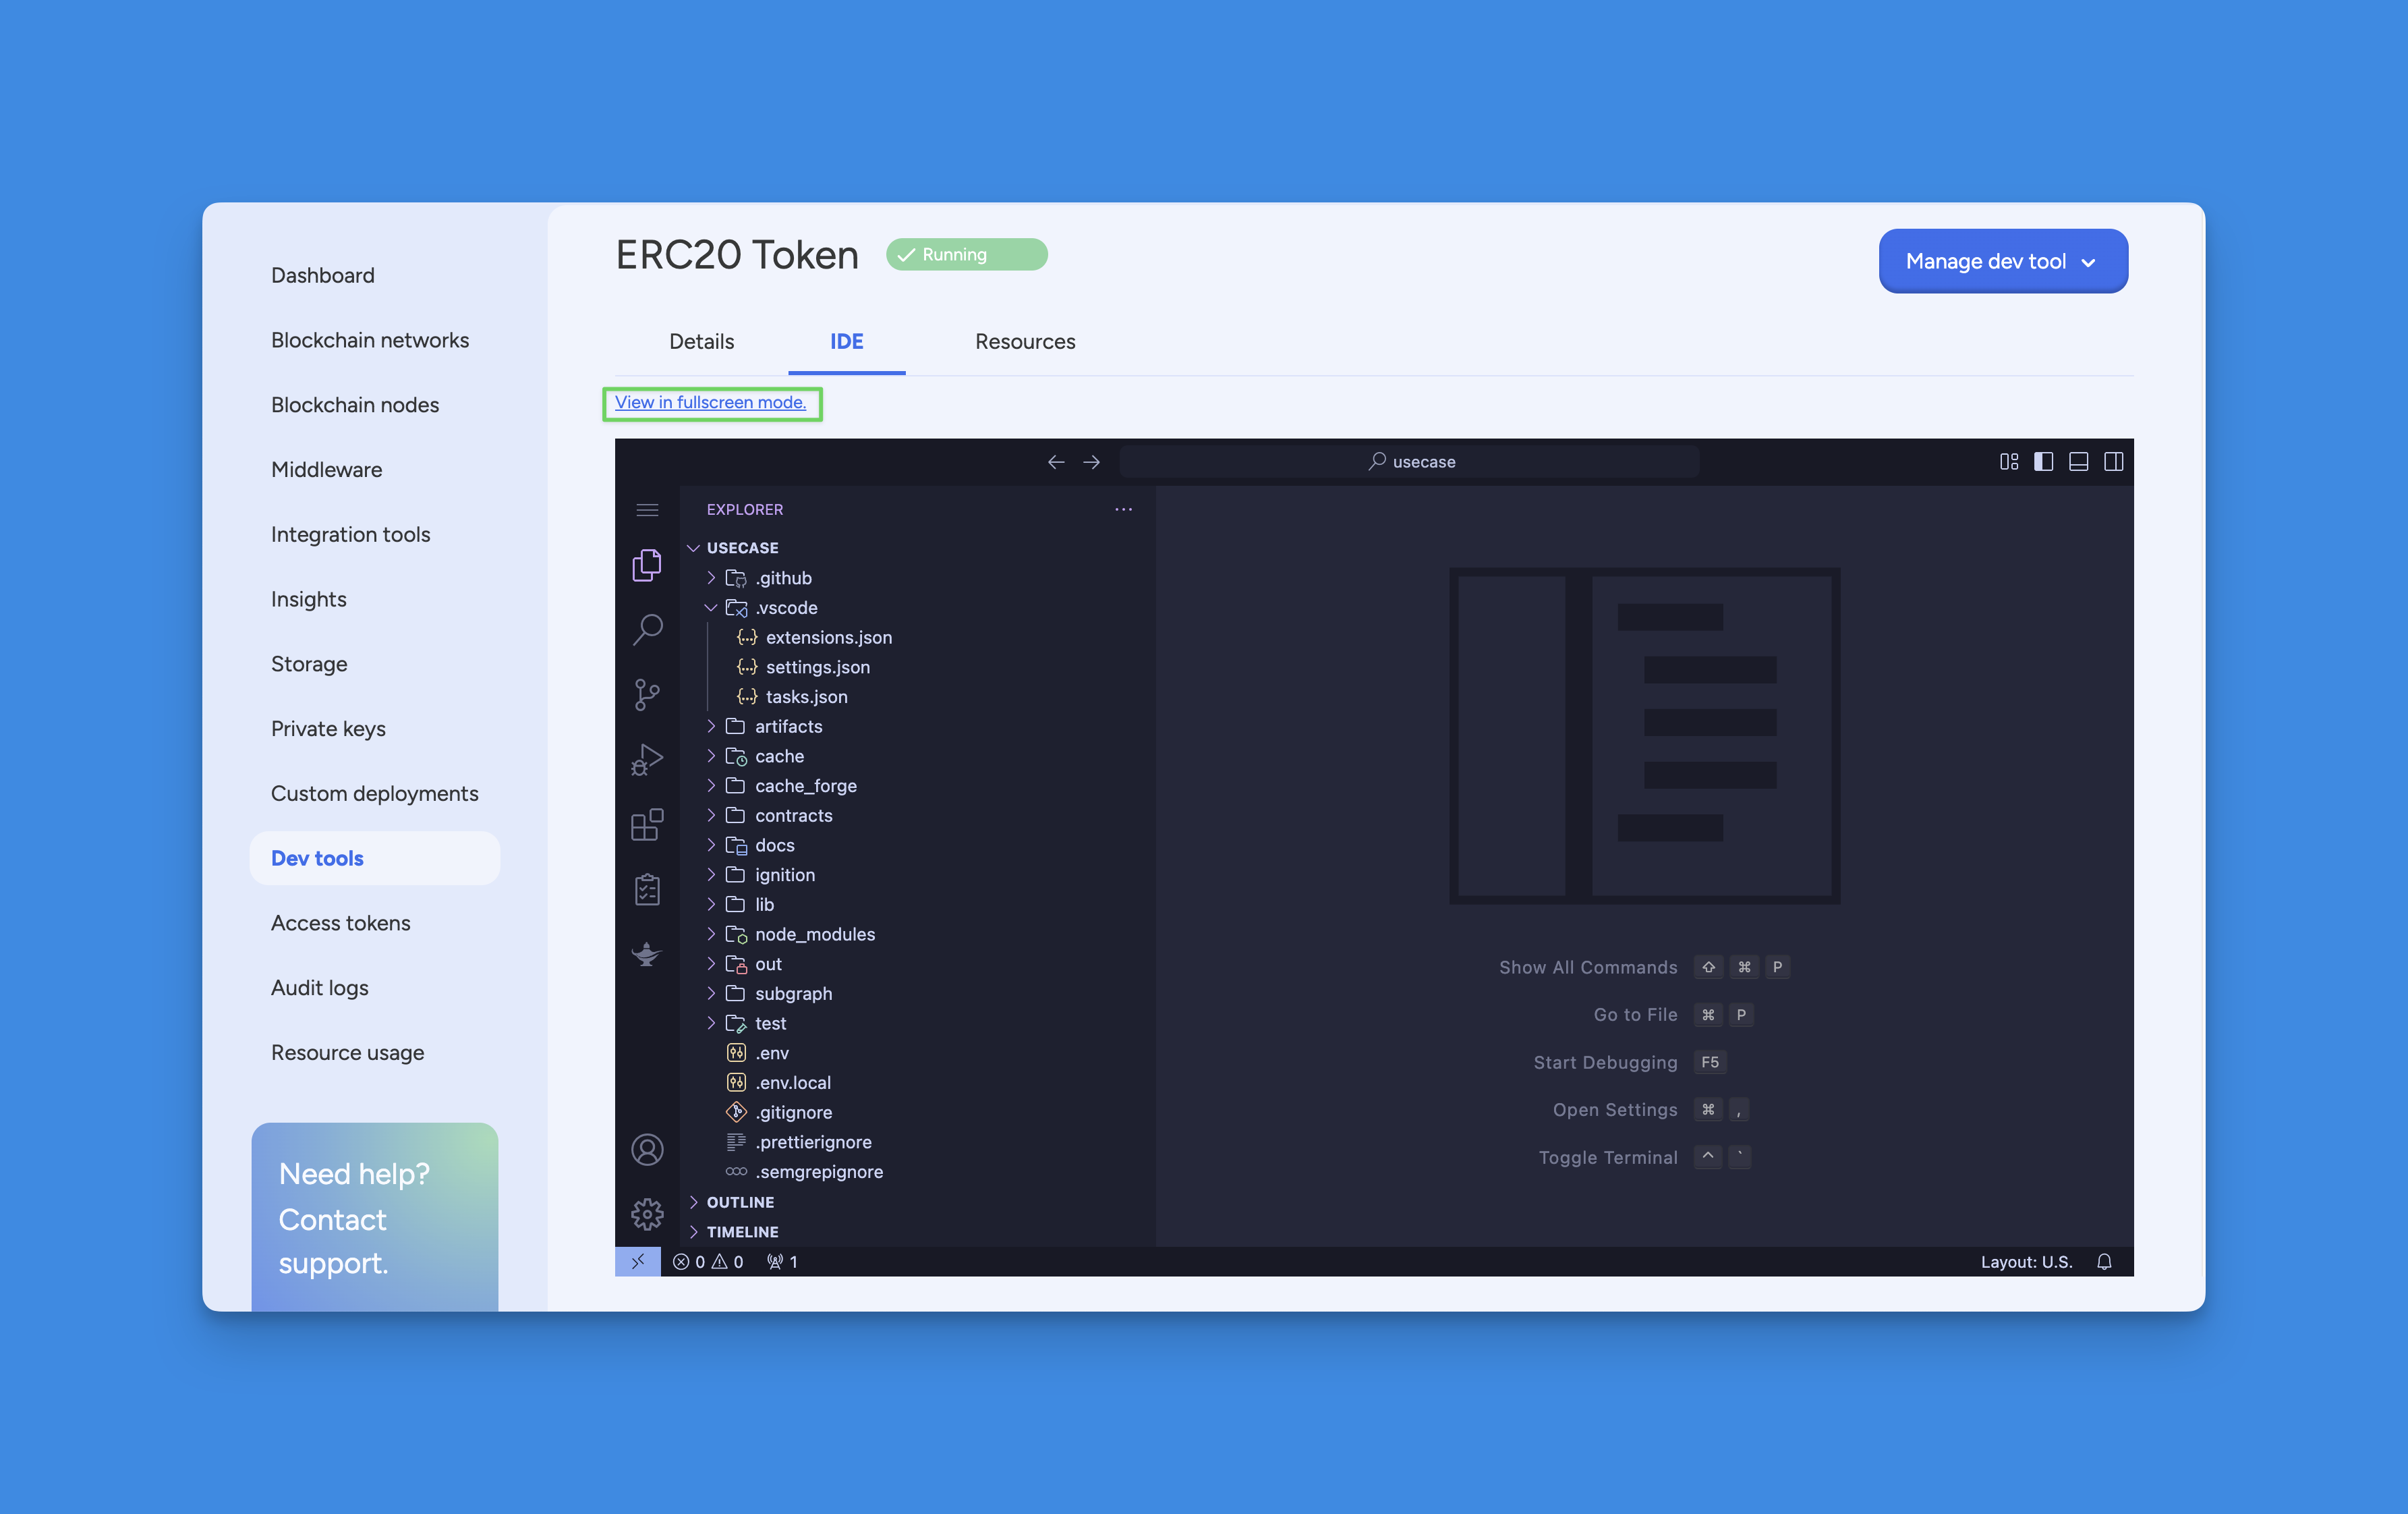
Open the IDE by clicking on your smart contract set.
-
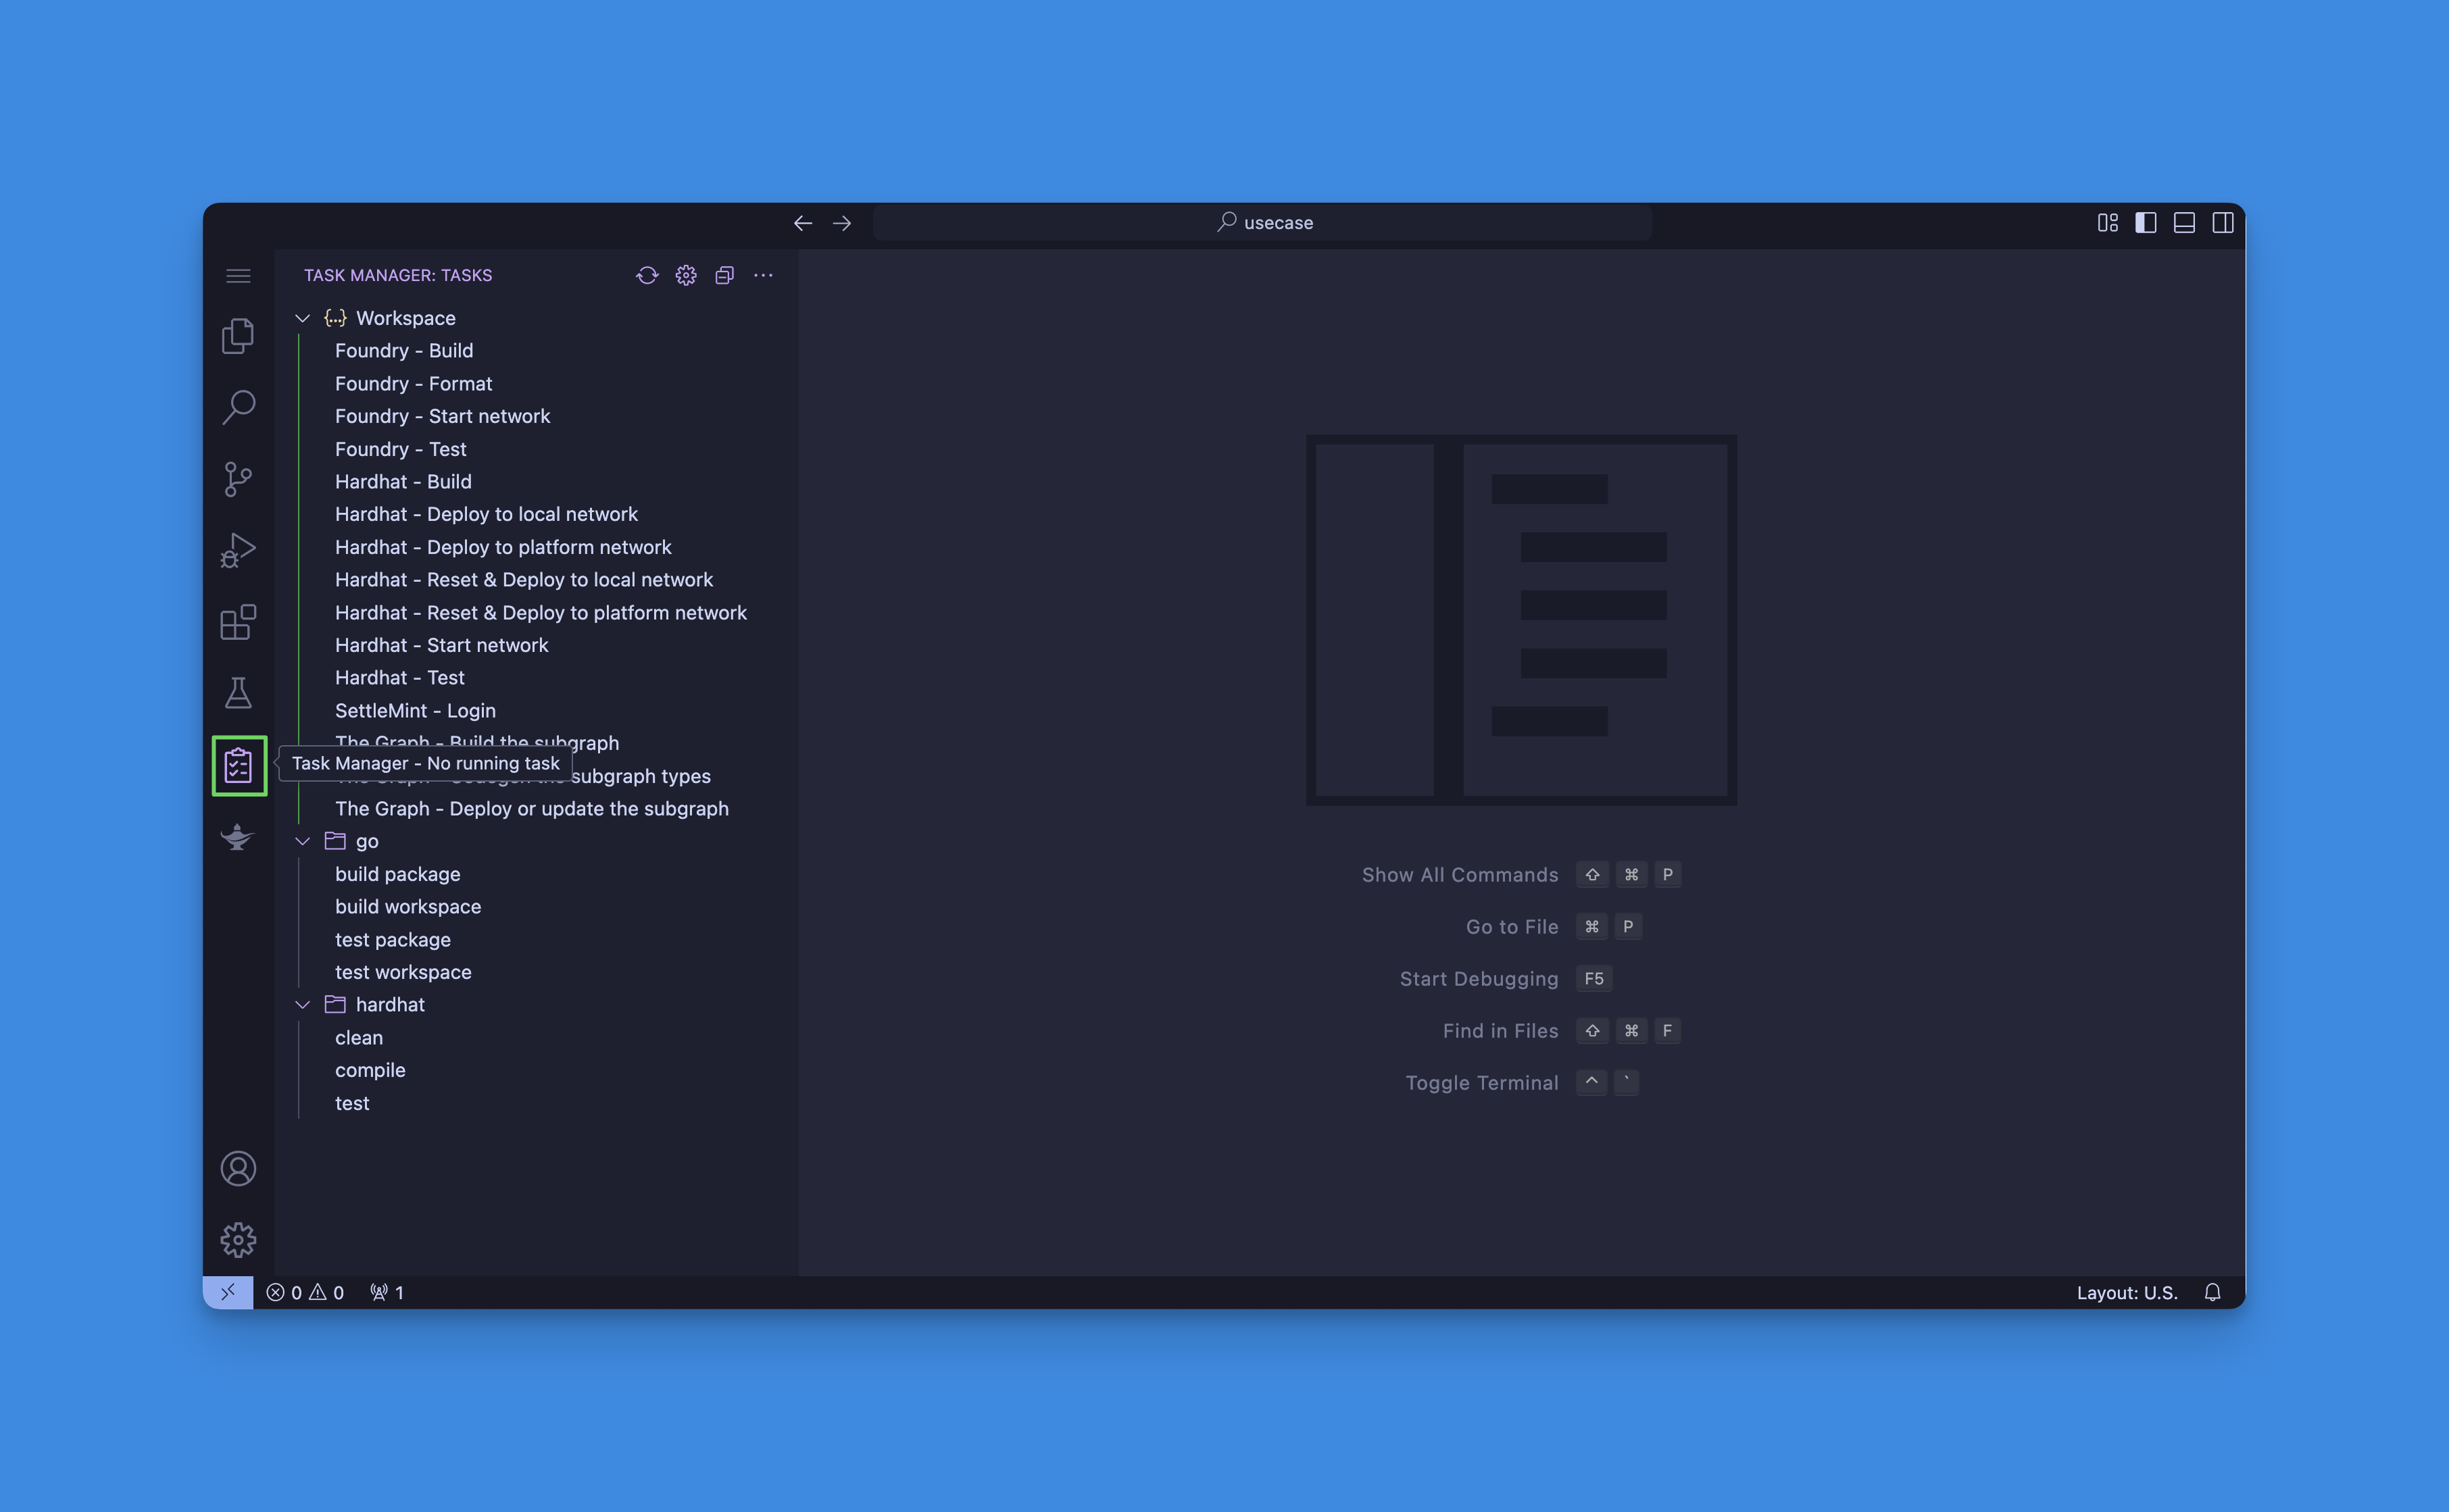
Click on the Task Manager button.
-
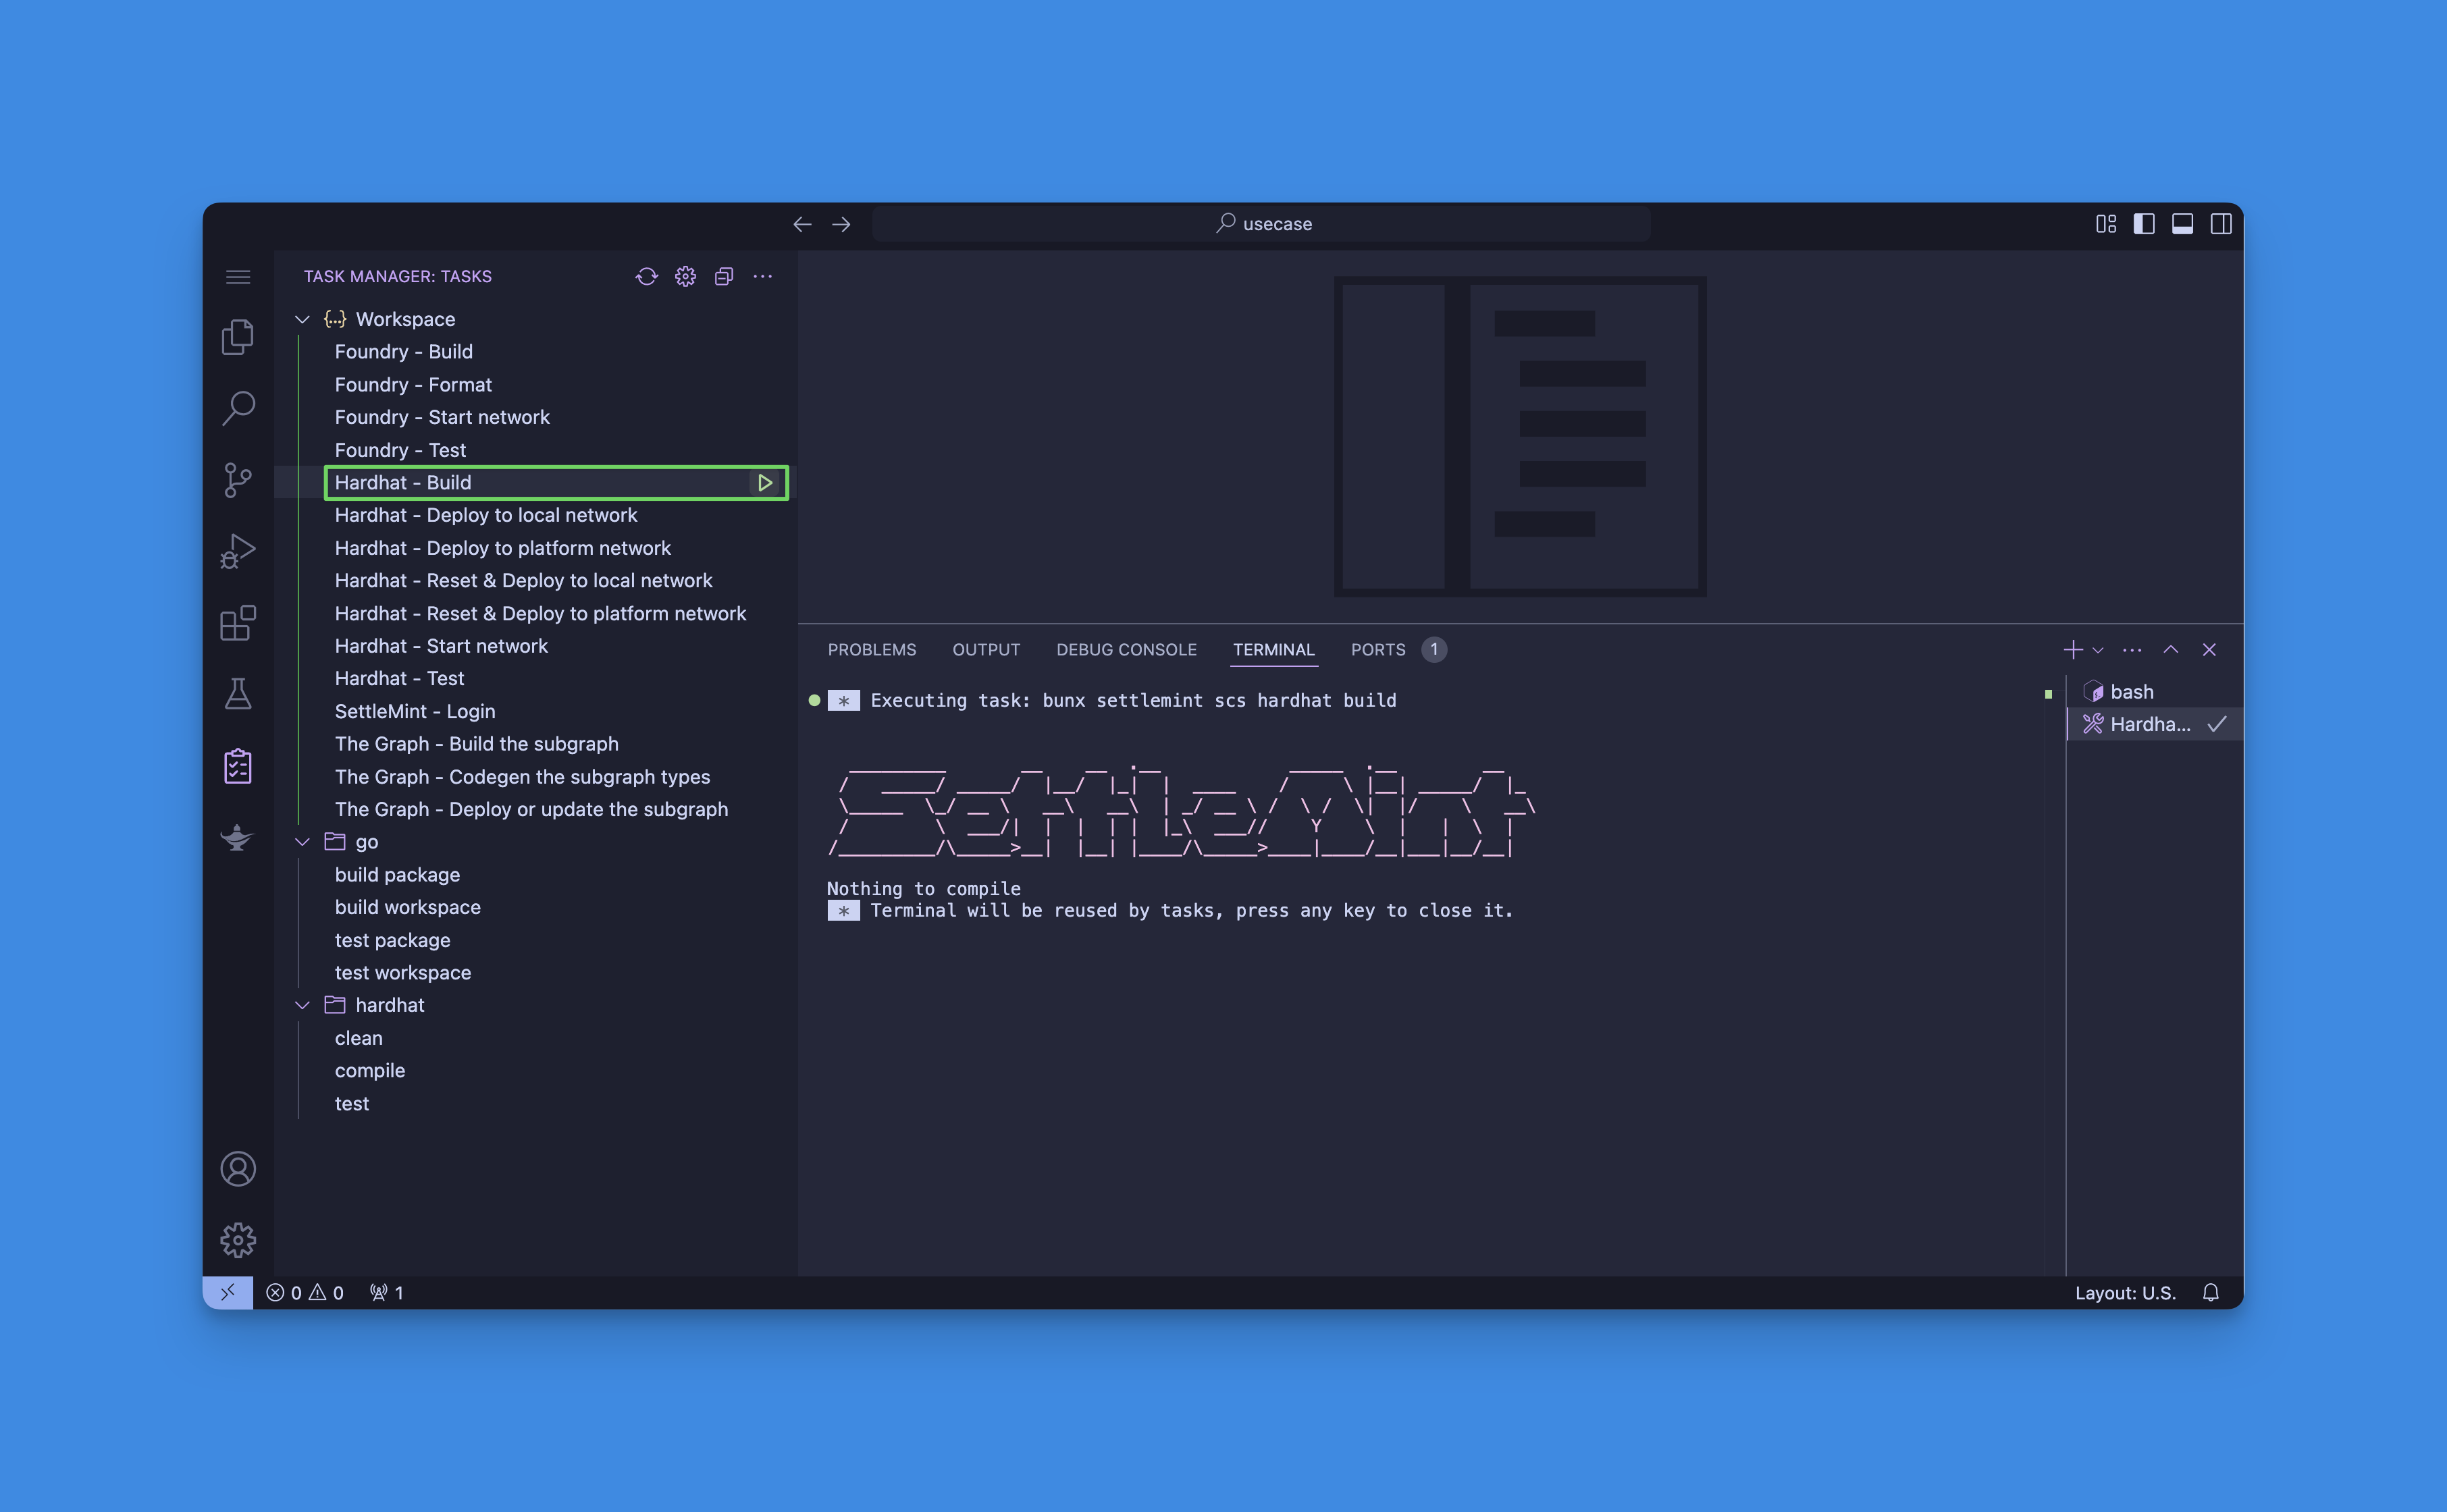
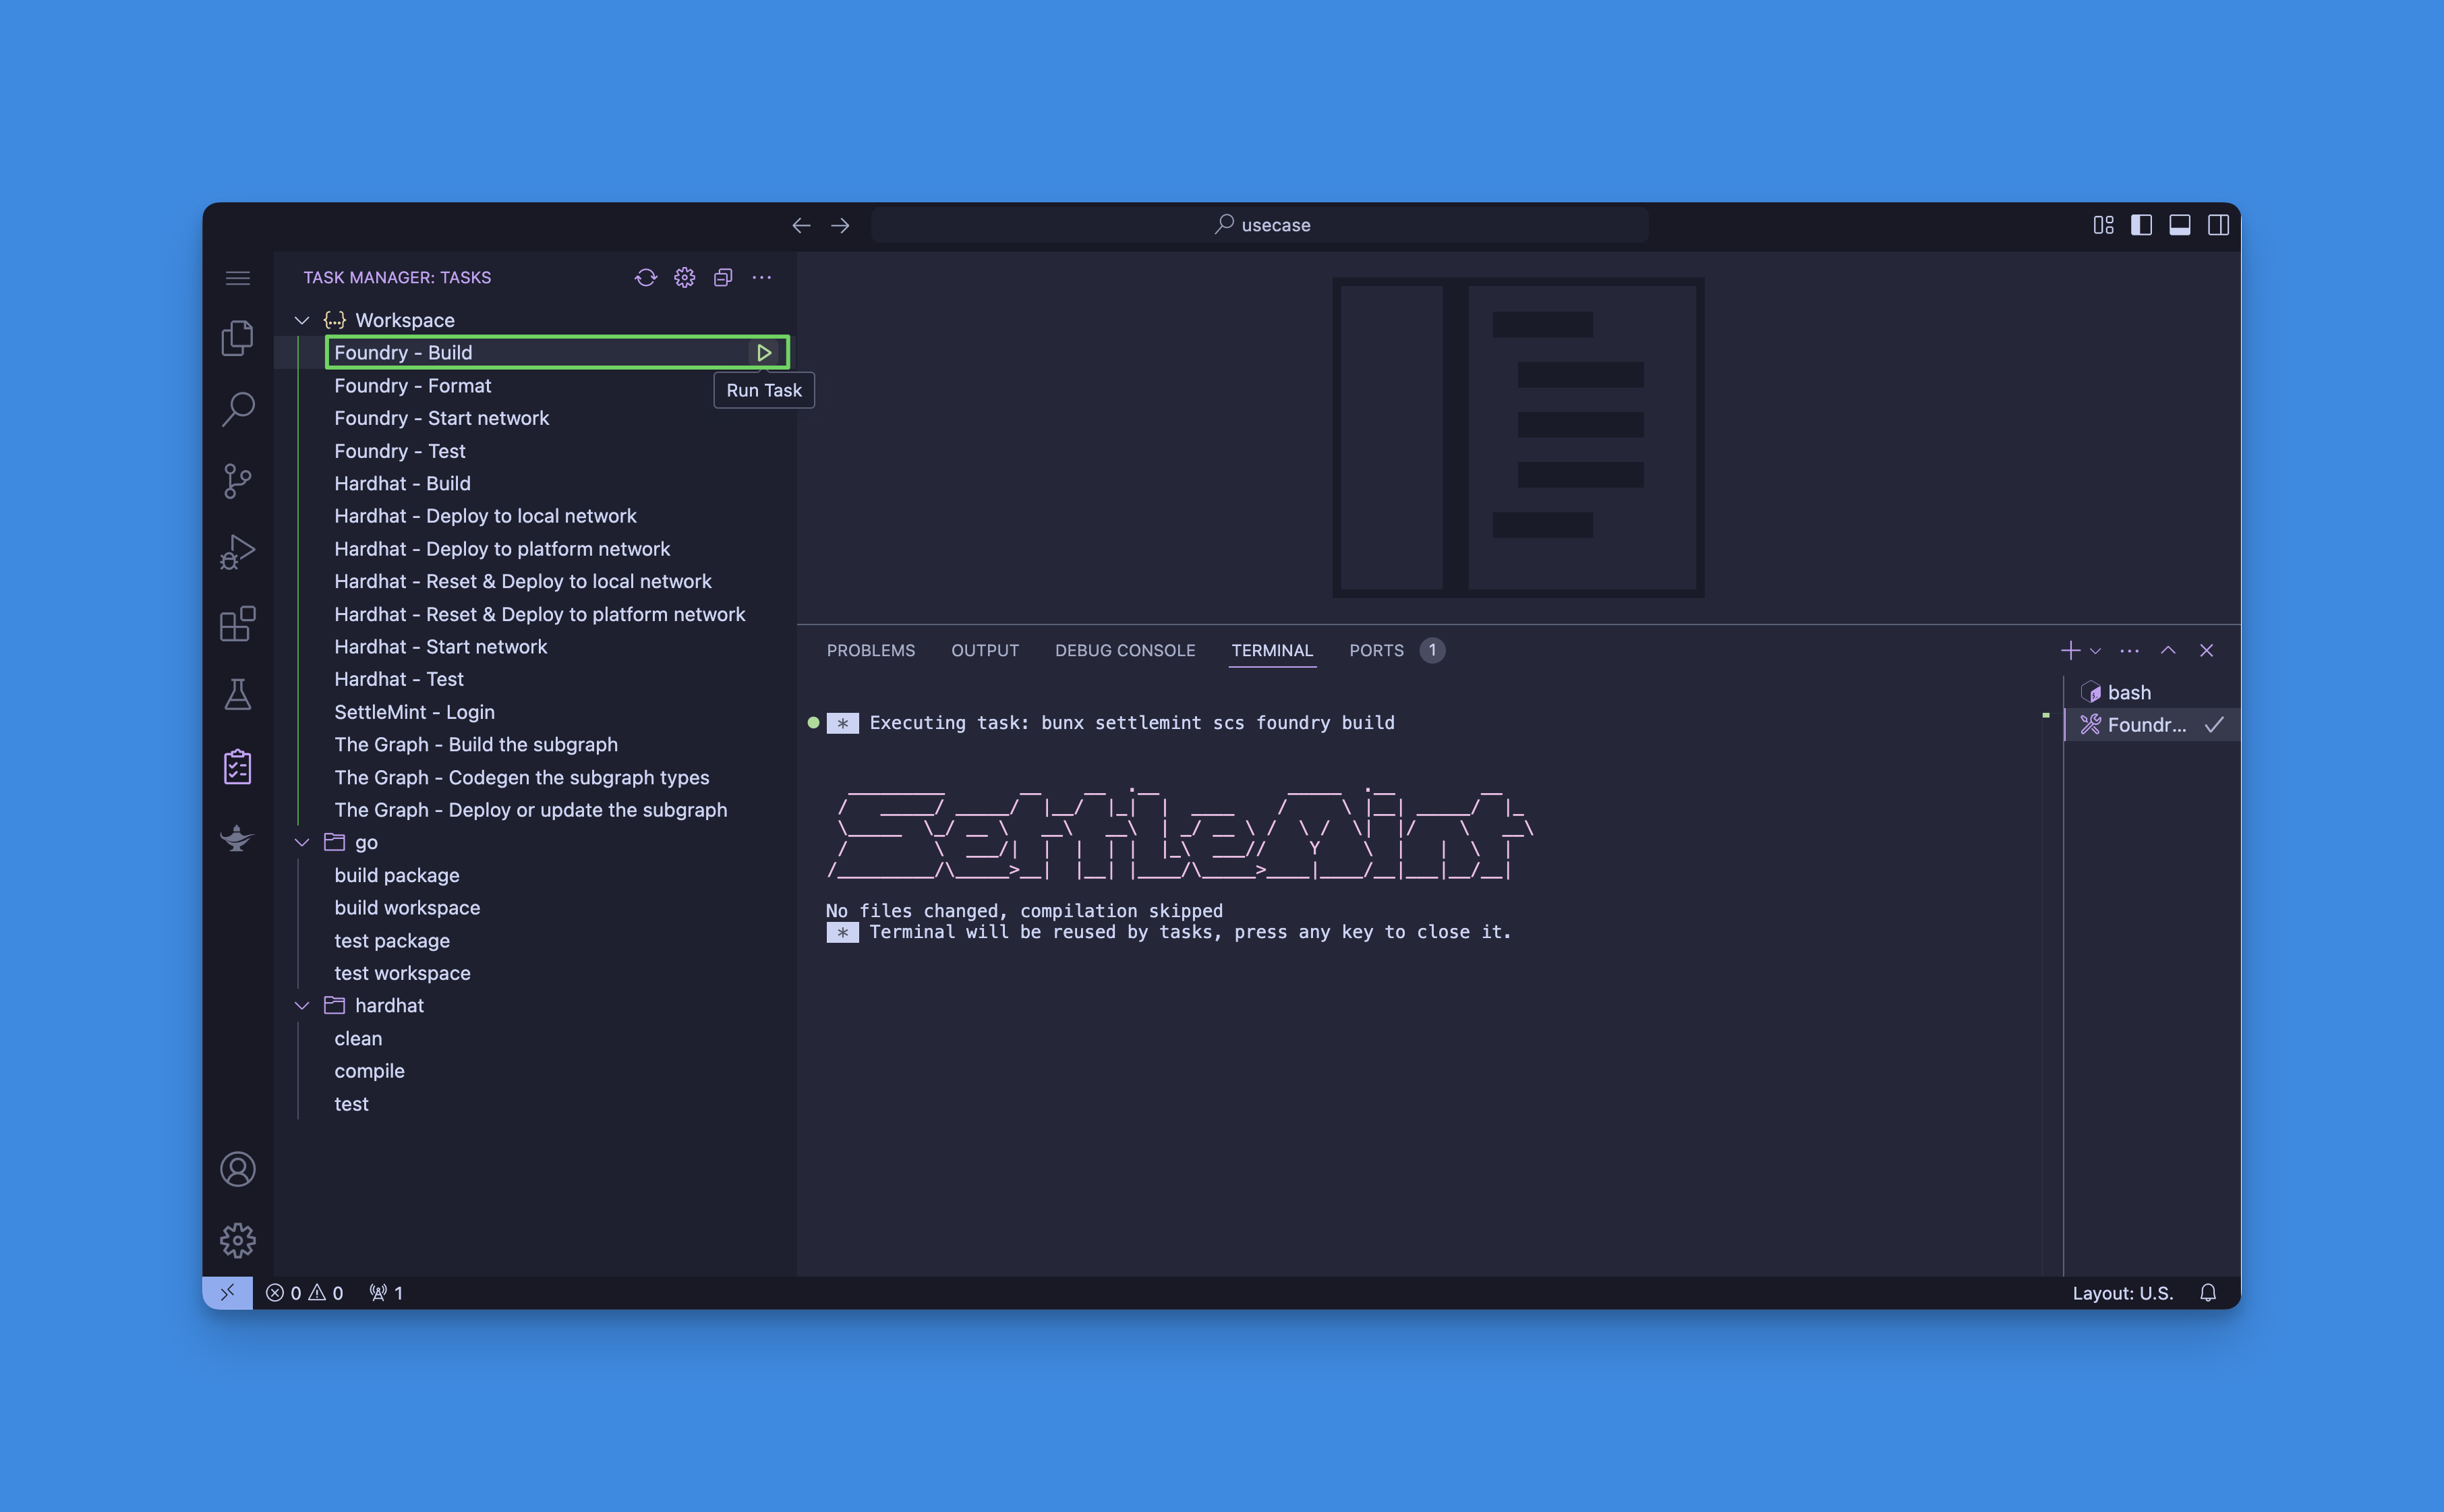
First compile your contract by running either:
- Hardhat - Build task
- Foundry - Build task
- Hardhat - Build task
-
To deploy to a platform network:
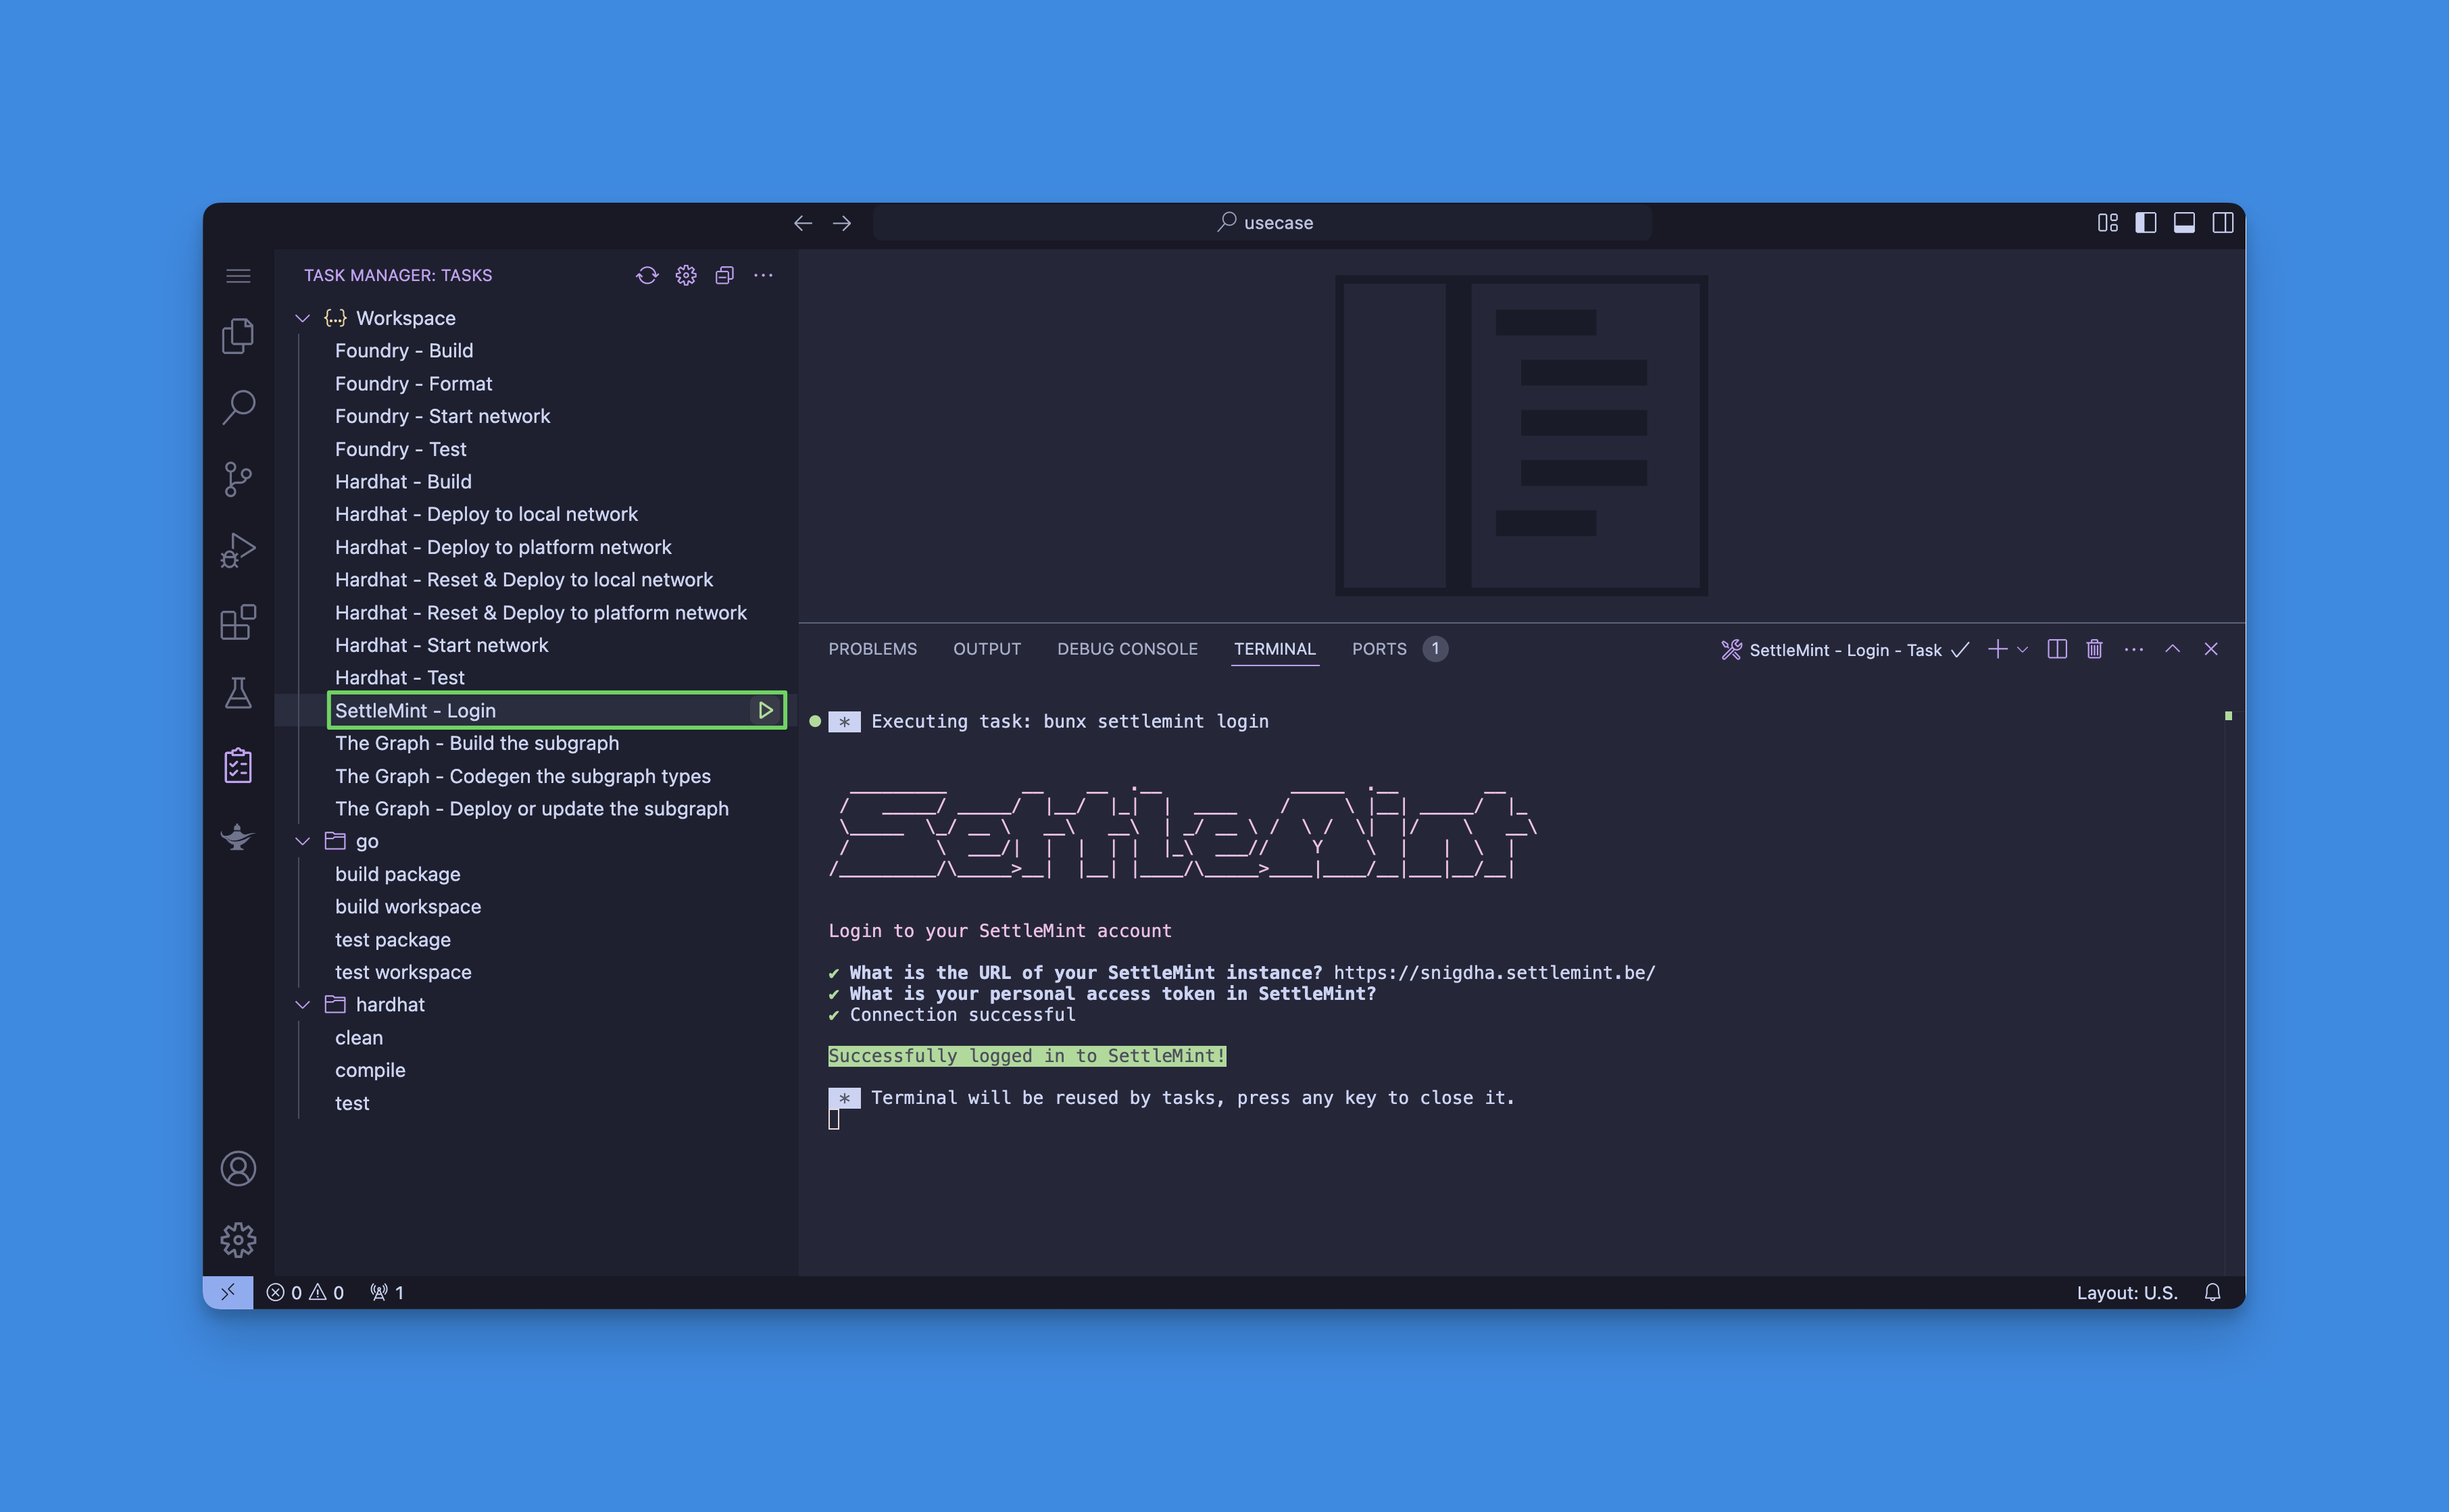
- Run the SettleMint - Login task
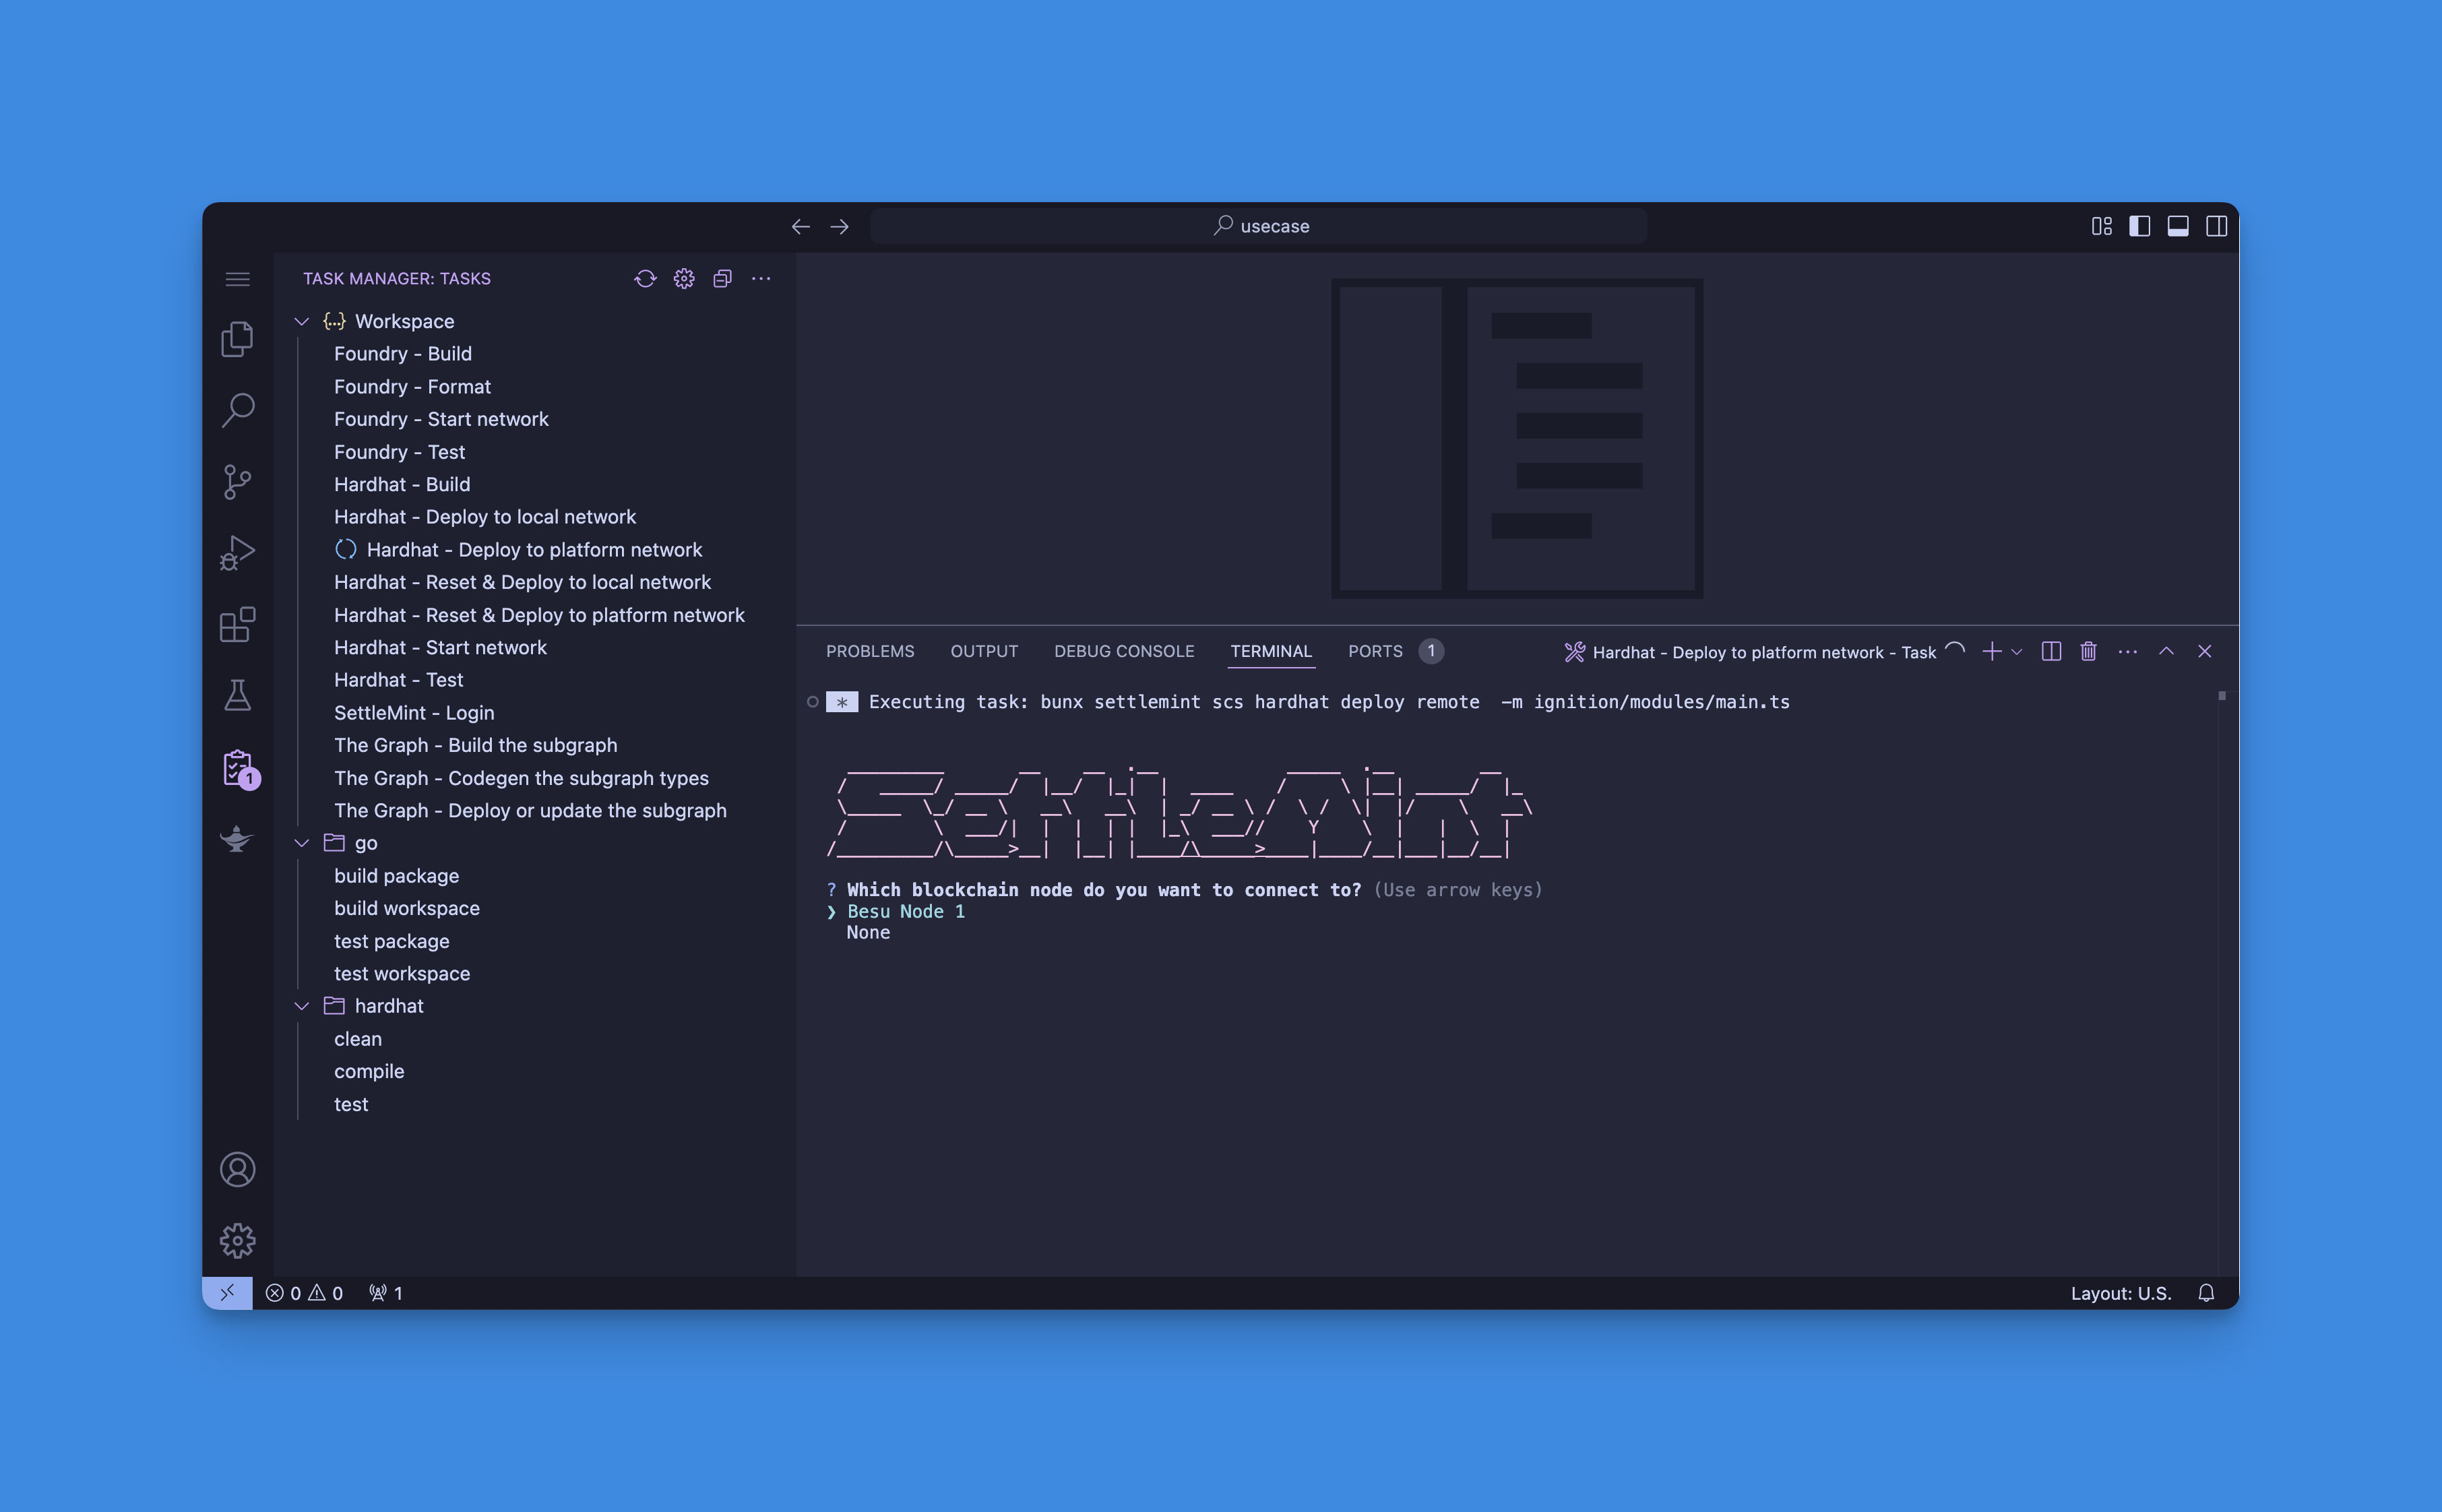
- Run the Hardhat - Deploy to platform network task

- Select your node and private key when prompted
- Run the SettleMint - Login task
-
To deploy locally:
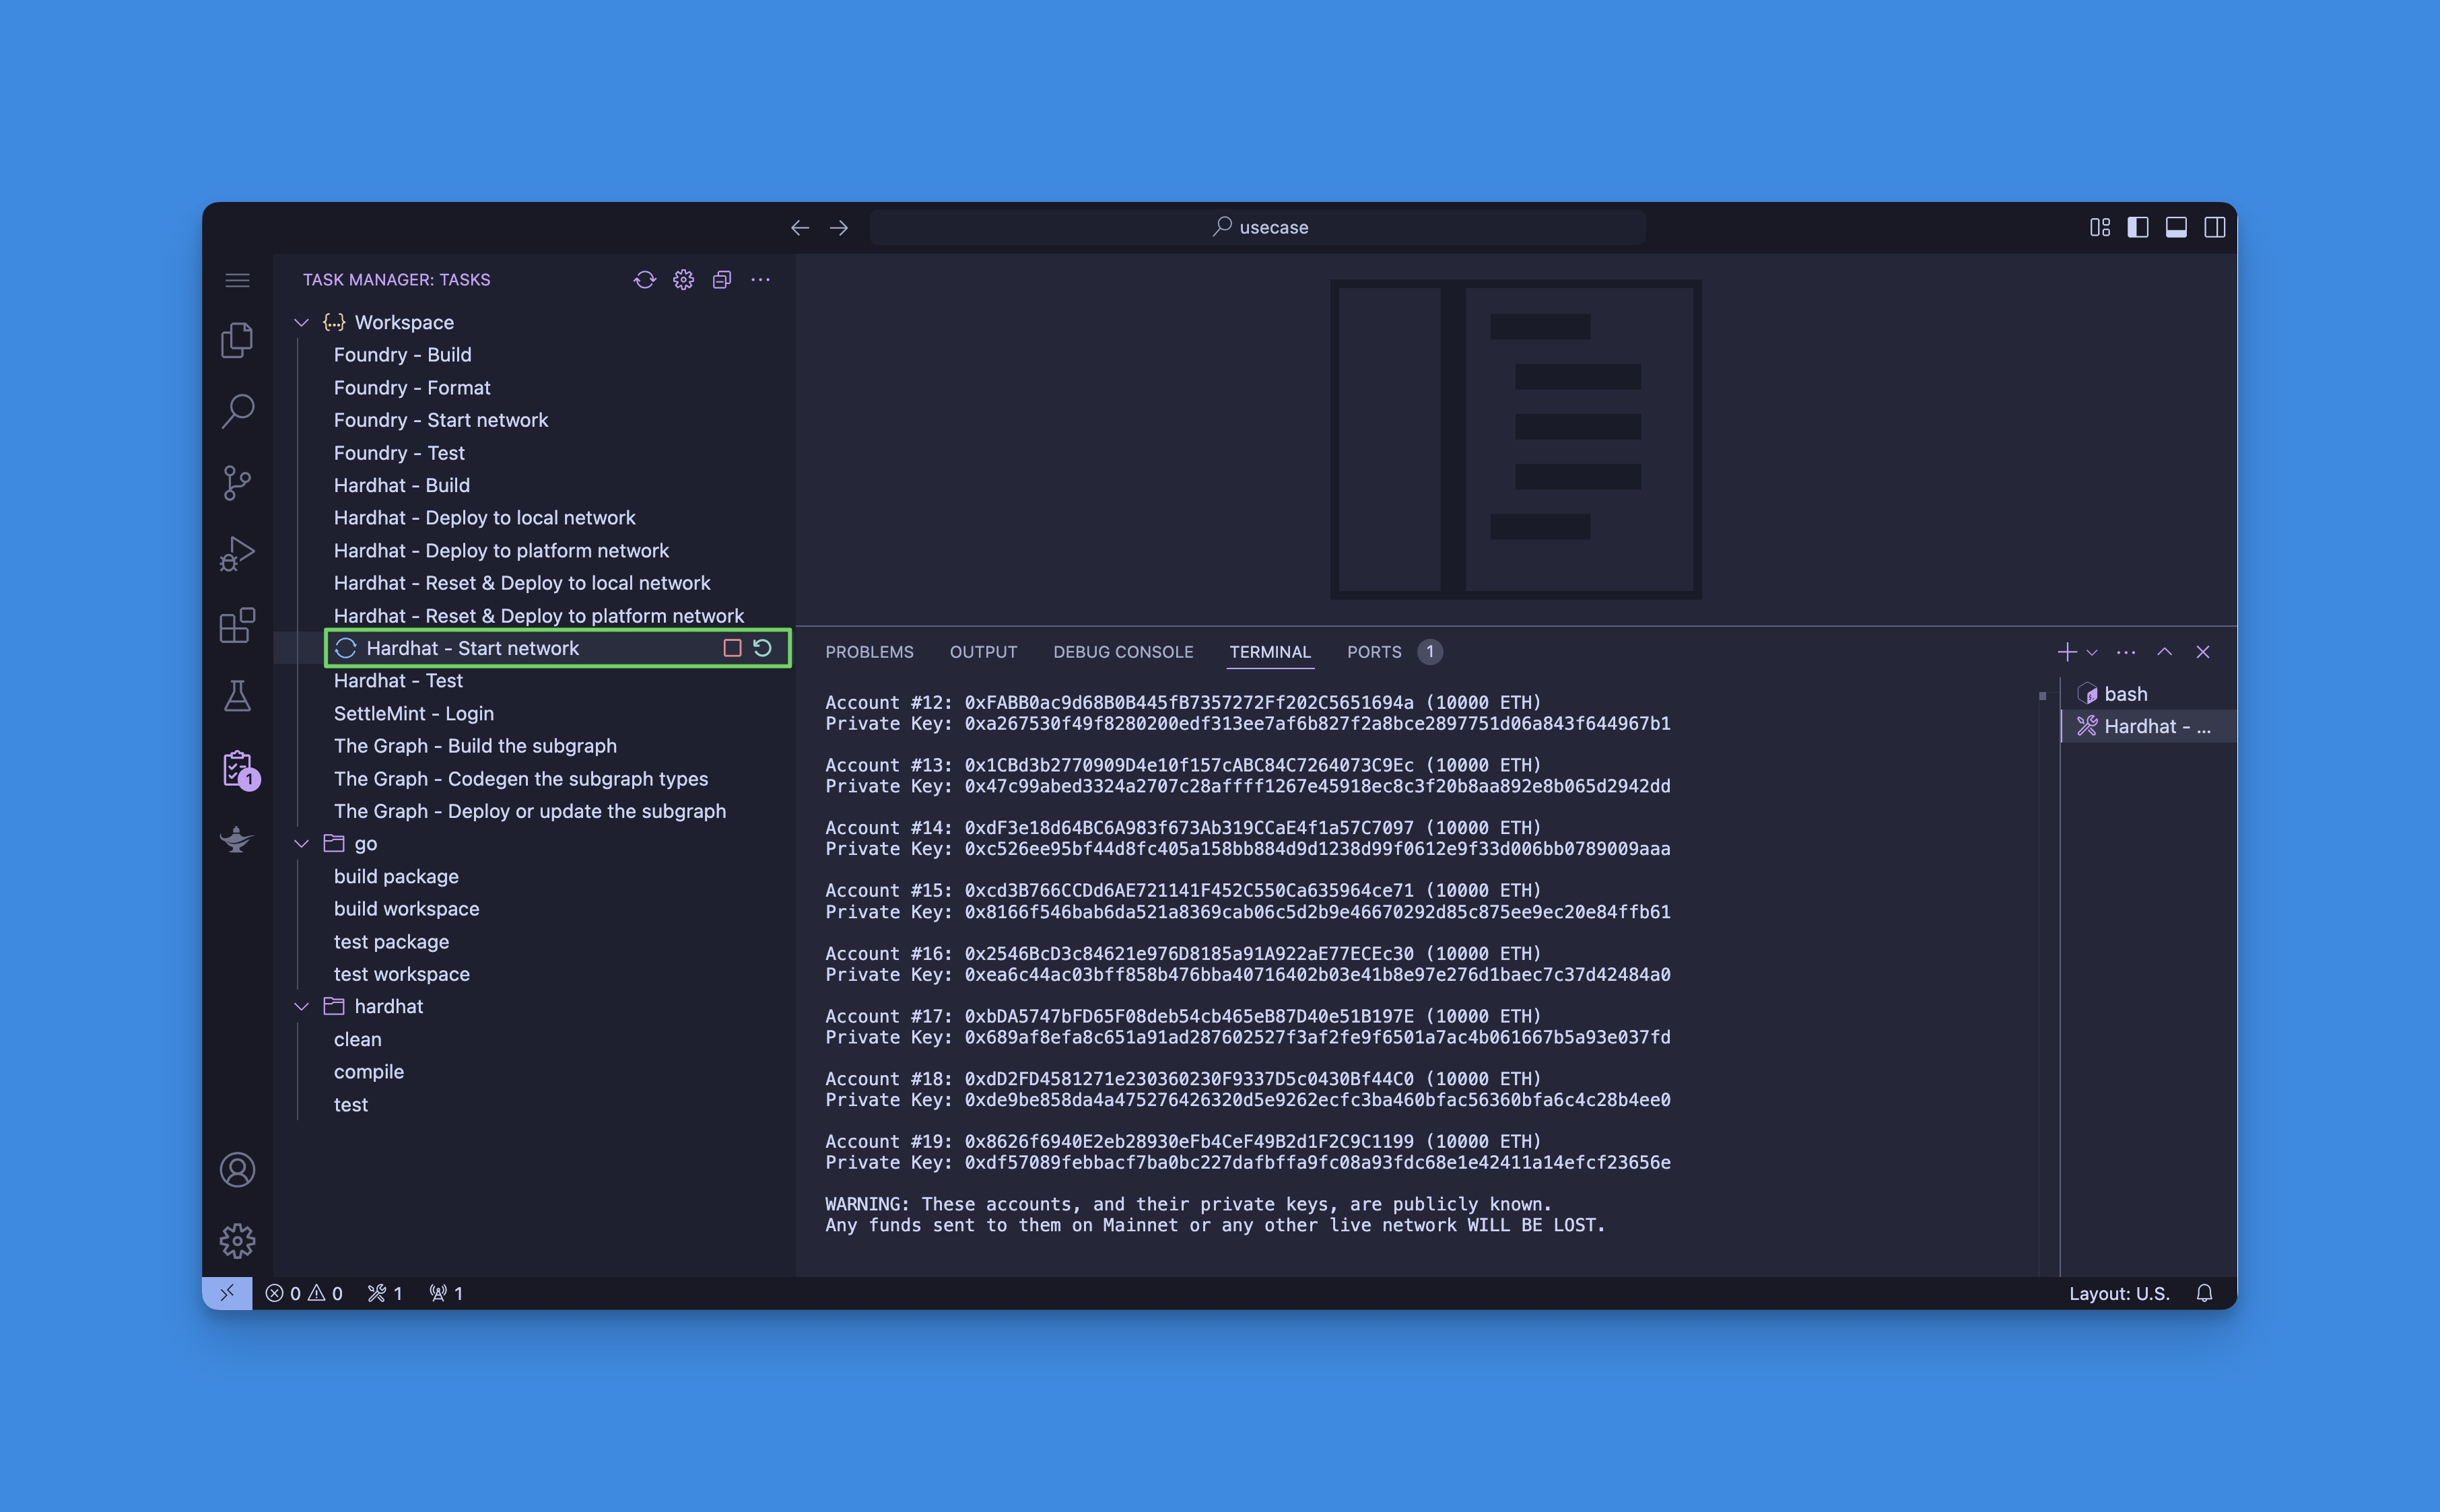
- Run the Hardhat - Start local network task
- Run the Hardhat - Deploy to local network task

- Run the Hardhat - Start local network task
Prerequisites
First, authenticate yourself and connect to your application:
# Login to the platform
settlemint login

# Connect to your application
settlemint connect
Using Hardhat
Hardhat provides a complete development environment. Here's how to use it:
# Step 1: Build your smart contracts
settlemint scs hardhat build

# Step 2: Choose your deployment target
# For local development:
settlemint scs hardhat network     # Start a local network
settlemint scs hardhat deploy local  # Deploy to local network

# For production:
settlemint scs hardhat deploy remote  # Deploy to platform network

# Development tools:
settlemint scs hardhat test    # Run your test suite
settlemint scs hardhat script  # Execute deployment scripts
Using Foundry
Foundry offers fast compilation and testing. Here's how to use it:
# Step 1: Build your smart contracts
settlemint scs foundry build

# Step 2: Test and format
settlemint scs foundry test    # Run your test suite
settlemint scs foundry format  # Format your contract code

# Step 3: Local development
settlemint scs foundry network  # Start a local network for testing
Working with Subgraphs
If you need to index your smart contract data:
# Step 1: Generate TypeScript types from your schema
settlemint scs subgraph codegen

# Step 2: Build the subgraph
settlemint scs subgraph build

# Step 3: Deploy to the Graph node
settlemint scs subgraph deploy [subgraph-name]
Before deployment, ensure:
- You're authenticated (
settlemint login) - You're connected to your application (
settlemint connect) - Your smart contracts are compiled
- For remote deployment: you have a running node and sufficient funds
Environment Configuration
When using settlemint connect, you'll be prompted to configure:
- Workspace selection
- Application selection
- Blockchain node selection
- The Graph instance selection
- HD Private Key selection
- Application access token creation
This configuration is stored locally and used for subsequent commands.
Project Structure
The typical folder structure of a SettleMint smart contract set includes:
contracts/: Contains the Solidity smart contractstest/: Contains both Hardhat (TypeScript) and Foundry (Solidity) testsscript/: Deployment and interaction scriptslib/: Optional Solidity librariesignitions/: Hardhat deployment configurationsout/: Compilation artifactsfoundry.toml: Foundry configurationhardhat.config: Hardhat configurationsubgraphs/: The Graph indexing configurations
Customize smart contracts
You can customize your smart contracts using the built-in IDE. The smart contract sets include a Generative AI plugin to assist with development. Learn more about the AI plugin here.